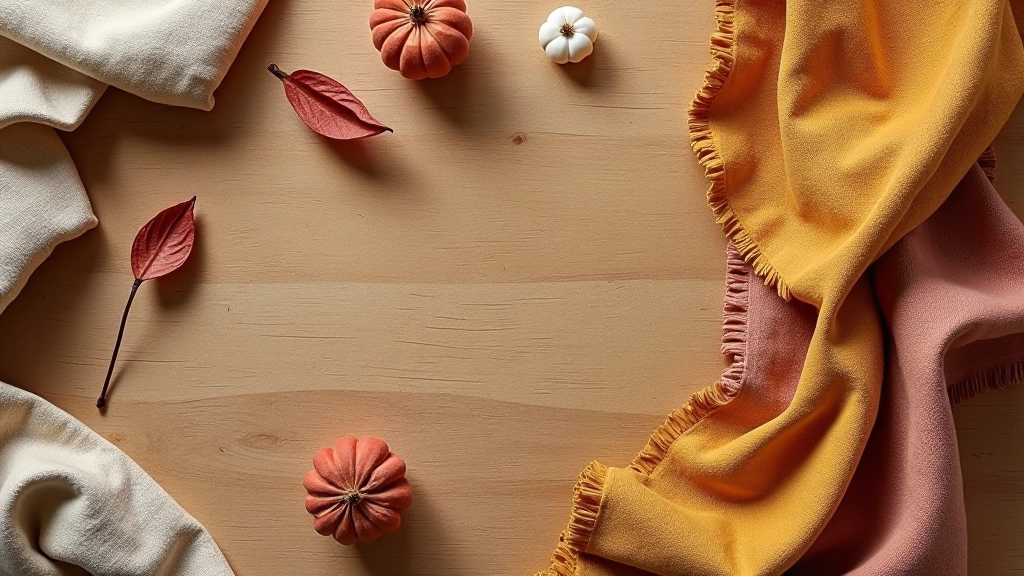
DIY Comfort Projects: Budget Throws and Cushion Covers
Simple sewing and no-sew projects that add texture and warmth to any room. Perfect for beginners — no special skills required, just basic materials and a little patience.

Why DIY Comfort Matters
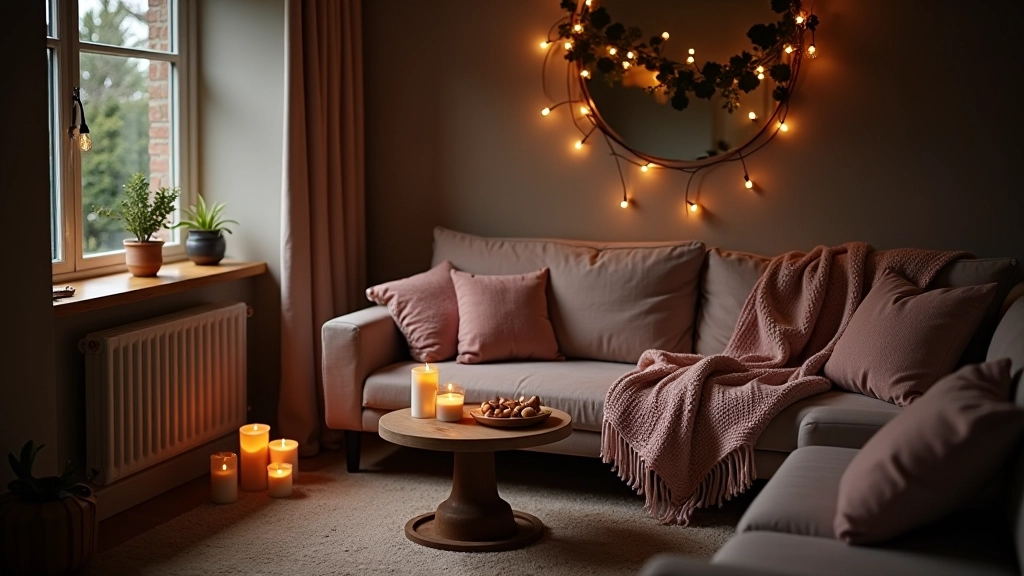
Creating a cosy home doesn't require expensive furniture or professional interior designers. Sometimes the warmest spaces come from simple touches you've made yourself. A throw draped over your sofa, a scatter of cushions in soft fabrics — these small details completely transform how a room feels.
The beauty of making your own throws and cushion covers is that you control everything. The colours match your walls perfectly. The fabrics feel exactly how you want them. You've invested your own time and creativity, which makes curling up with them feel that much better.
What You'll Learn
- No-sew cushion cover techniques for absolute beginners
- Simple hand-sewing methods that actually work
- Fabric selection for durability and comfort
- Budget-friendly materials and where to find them
- Finishing touches that look professional
Getting Started with Throws
The easiest project to begin with is a simple throw. You'll want a length of fabric roughly 130cm by 170cm. That's about the size of a decent throw blanket, perfect for draping across a sofa or folding at the foot of a bed.
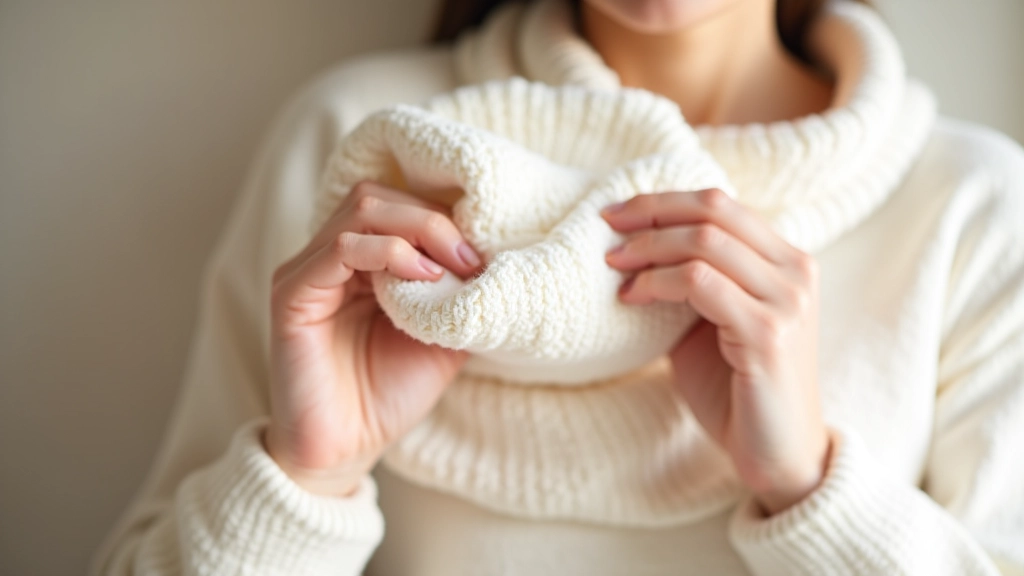
Cotton jersey fabric is brilliant for beginners. It doesn't fray much, it's forgiving if your seams aren't perfectly straight, and it feels lovely and soft. You can find good-quality cotton jersey at fabric shops or online retailers for about £8-12 per metre. Much cheaper than buying a ready-made throw.
The simplest method is a flat seam finish. You'll sew two pieces of fabric together with the right sides facing each other, leaving a gap for turning. Turn it right-side out, press it flat with an iron, then hand-stitch the opening closed. Takes an evening if you're relaxed about it.
This guide provides educational information about DIY sewing projects. Results depend on your individual skill level, patience, and materials used. We recommend testing techniques on scrap fabric first. If you've never sewn before, consider practising basic stitches on spare cloth before starting your main project. Every crafter works at their own pace — don't rush it.
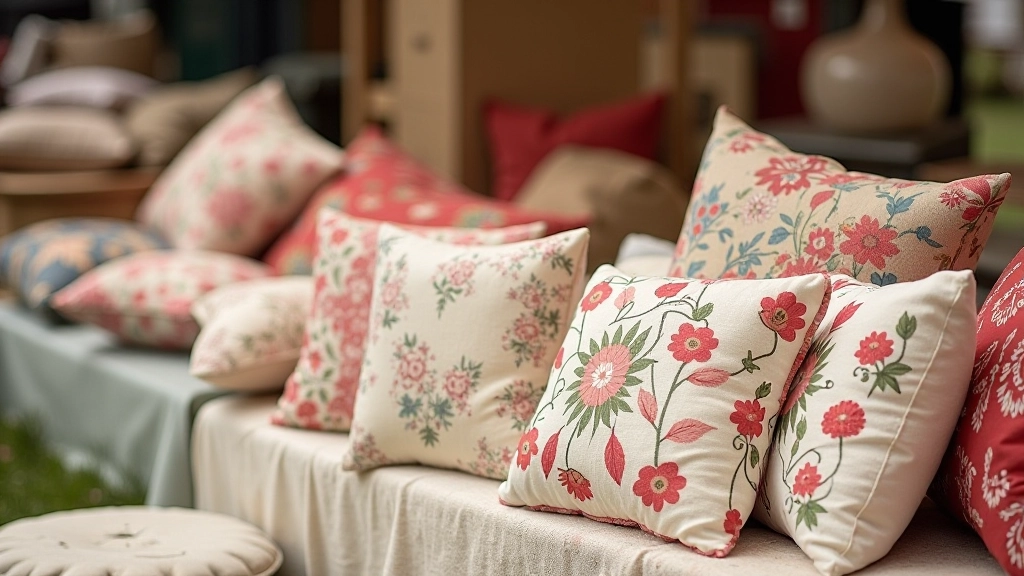
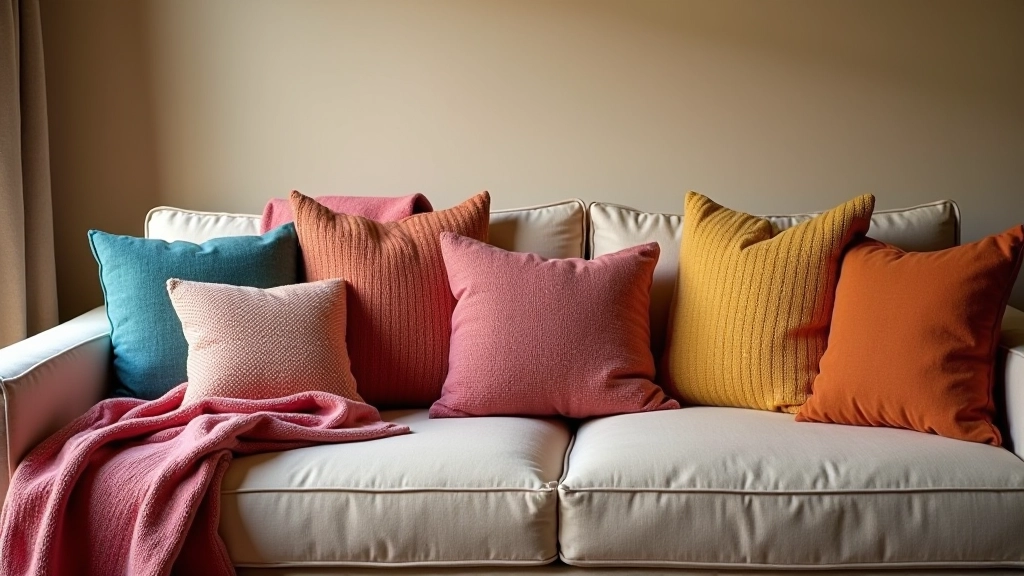
Making Cushion Covers
Cushion covers are actually more forgiving than throws because they're smaller and quicker to finish. A standard 45cm square cushion cover uses about 1 metre of fabric, so you can make 2-3 covers from a single metre.
The envelope-style closure is the best method for beginners. You'll cut two rectangles of fabric (one longer than the other so they overlap), sew three sides together, turn it right-side out, and then simply tuck the raw edges inside before inserting your cushion pad. No need to sew that opening shut — the overlapping fabric keeps everything secure.
Linen and cotton blends work beautifully for cushion covers. They're durable enough to handle regular use, and they age nicely. Velvet and corduroy are luxurious options if you want something that feels special. Just remember that patterned fabrics hide imperfect stitching better than solid colours.
Quick Steps
- Cut two rectangles: one 48cm × 45cm, one 35cm × 45cm
- Place right sides together and sew three sides
- Turn inside out, press with iron
- Insert cushion pad, fold raw edges inward
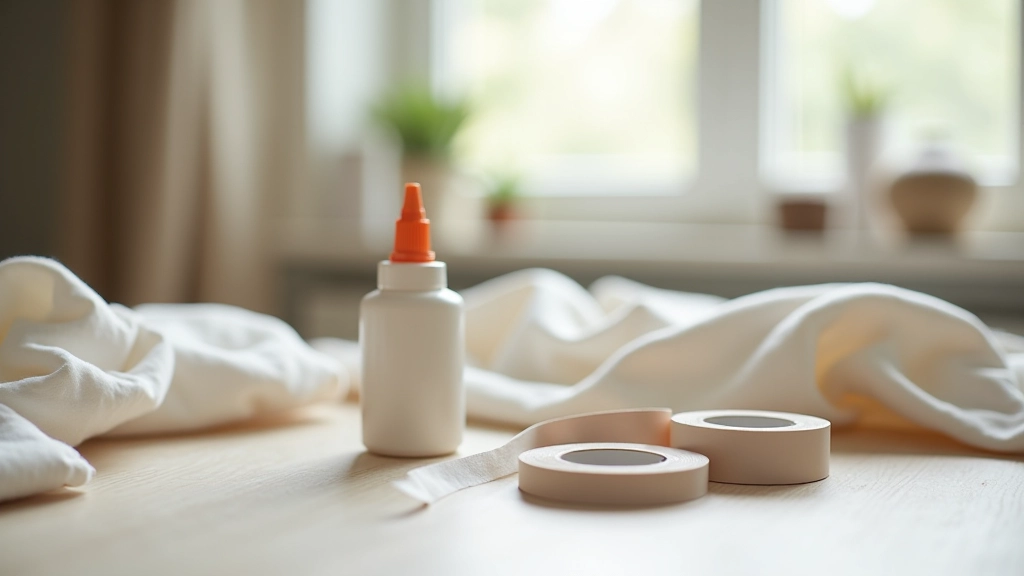
No-Sew Options for the Hesitant
If needles and thread feel too daunting, fabric glue is genuinely your friend. Hemming fabric tape with an iron is even easier. You're essentially using heat to activate an adhesive that's already built into the tape. It takes about 10 minutes per seam and looks remarkably professional.
The most popular no-sew method uses fabric glue designed specifically for textiles. It's flexible when dry, so it won't crack or become stiff like regular glue. You apply it to one edge of fabric, press the second piece onto it, and let it cure overnight. Some people make entire cushion covers this way without touching a needle once.
Adhesive hem tape works brilliantly for finishing edges. Fold your fabric edge over the tape, press with a hot iron for 10-15 seconds, and you've got a finished edge. It's particularly good for throws because you avoid having a seam that gets sat on constantly.
What You'll Actually Need
Fabric
Cotton jersey, linen, or cotton blends work best. Budget £6-15 per metre depending on quality. You'll find decent fabric at John Lewis, The Range, or online at places like Minerva Crafts.
Basic Tools
Sharp scissors, a needle, thread (matching or contrasting depending on your look), pins, and a measuring tape. If you're sewing by hand, a thimble prevents sore fingers on longer projects.
Optional Equipment
An iron for pressing seams (makes everything look better), a sewing machine if you have one, fabric glue for no-sew projects, or hemming tape for quick finishing.
Cushion Pads
Standard cushion inserts come in various sizes (45cm, 50cm, 60cm squares). They're about £4-8 each at home stores. Sometimes worth buying extra to have on hand.
Making Your Space Truly Yours
The real reward of making your own throws and cushion covers isn't just saving money, though that's definitely nice. It's the satisfaction of sitting on your sofa, wrapped in something you've created with your own hands. You'll notice the quality of the stitching, remember how you chose that particular shade of blue because it matched the light in your living room at 4pm, and feel genuinely proud.
Start small. Make one cushion cover this weekend. If it's wonky, that's part of the charm. If it's perfect, make three more. Once you've finished your first project, you'll realise how straightforward it actually is. Then you can experiment with colours, textures, and maybe even add decorative details like piping or buttons.
The best part? Every time someone visits and compliments your throw, you get to say "Thanks, I made it." That feeling never gets old.